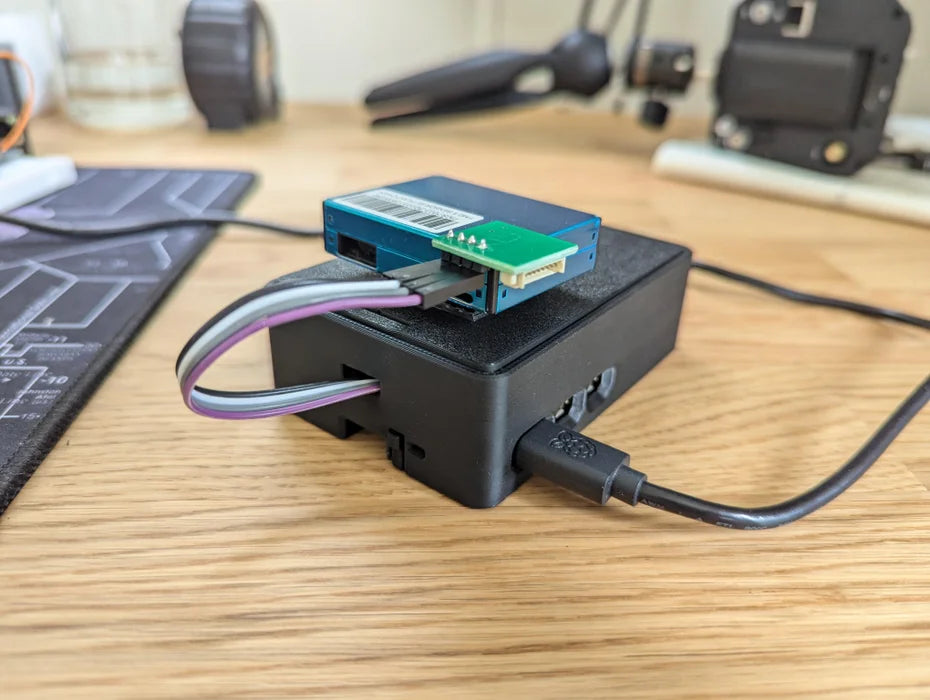
Air Quality Monitor With Raspberry Pi 5, PMS7003, and Viam
Are you concerned about the air quality in your home or workspace? With the advancement of technology, it's easier than ever to monitor the air you breathe. In this blog post, we will explore how to create your own Air Quality Monitor using a Raspberry Pi and a PMS7003 sensor.
What is an Air Quality Monitor?
An Air Quality Monitor is a device that measures various pollutants in the air, such as particulate matter, volatile organic compounds, and carbon dioxide. By monitoring these pollutants, you can ensure that the air you breathe is clean and safe.
How does the Raspberry Pi come into play?
The Raspberry Pi is a small, affordable computer that can be used for a variety of projects, including creating an Air Quality Monitor. By connecting a PMS7003 sensor to the Raspberry Pi, you can collect real-time data on the air quality in your environment.
Why use the PMS7003 sensor?
The PMS7003 sensor is a high-precision laser dust sensor that can detect particles as small as 0.3µm. This sensor is ideal for monitoring indoor air quality and can provide accurate and reliable data for your Air Quality Monitor.
How to build your own Air Quality Monitor
1. Gather all the necessary components, including a Raspberry Pi, a PMS7003 sensor, jumper wires, and a power source.
2. Connect the PMS7003 sensor to the Raspberry Pi using the jumper wires according to the wiring diagram provided in the tutorial.
3. Install the necessary software on the Raspberry Pi to read data from the PMS7003 sensor.
4. Follow the step-by-step instructions in the tutorial to calibrate the sensor and start monitoring the air quality in your space.
Benefits of DIY Air Quality Monitor
By building your own Air Quality Monitor, you have the flexibility to customize the device to suit your specific needs. You can also save money compared to purchasing a commercial air quality monitor. Additionally, you will gain valuable knowledge and skills in electronics and programming.
Take control of the air you breathe by creating your own Air Quality Monitor with Raspberry Pi and the PMS7003 sensor. Follow the detailed tutorial provided and start monitoring the air quality in your environment today.
And to keep up to date with new products, news, tutorials and more here at PMD Way - we're on x, Facebook, Instagram, threads, reddit, and instructables.

Leave a comment