Control RGB LED Strips with Floating Point Parameters
from hackster.io
LEDs, specifically addressable RGB or RGBW lights, have revolutionized the amount of color makers can easily add to their projects.
In the Arduino context, these are generally controlled by setting each individual light, and calling strip.show(); to actually visualize things. This approach works well enough, but in many situations you’re not interested in each discreet light unit, but in a (simulated) analog relationship between areas of a strip as a whole.
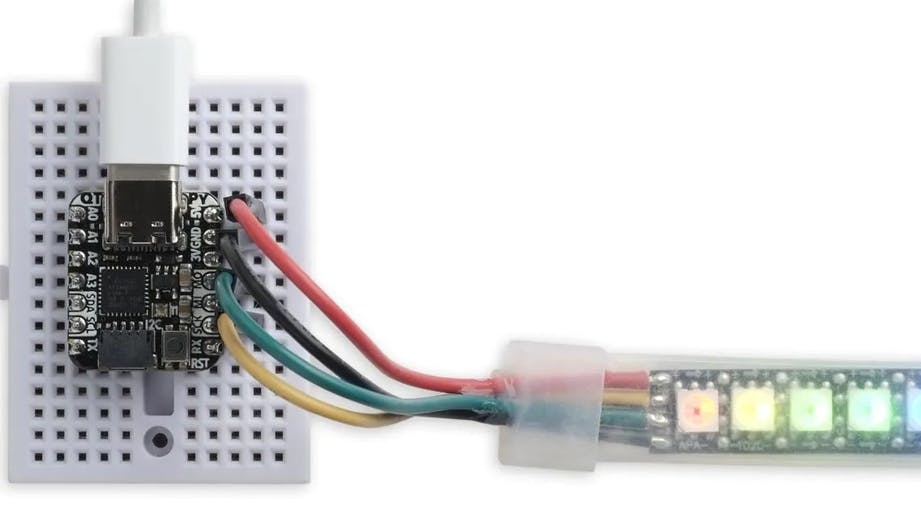
In order to more easily specify a continuous relationship between DotStar-style strips – e.g. APA102 or SK9822 addressable LEDs – Technoblogy’s David Johnson-Davies has come up with a space-time driver function that handles things in a more analog manner.Explained in more detail via this blog post, this setup defines the length of a strip, along with a brightness value. From there one can define floating point parameters that specify the position of the LED light, treating the strip as a continuous band, along with time and RGB values. One can also specify colors as HSV (Hue, Saturation, and Value) numbers if more convenient for a project.
LED values can be manipulated in the program via math functions to produce a variety of effects, some of which are illustrated in GIFs on the writeup. While there would certainly be some learning curve to using this method, it would likely make flowing LED color effects much easier.Notably, the program as currently written isn’t compatible with WS2812 or SK6812 strips so you'll want to take that into account if such LEDs are to be used in a project.

Leave a comment