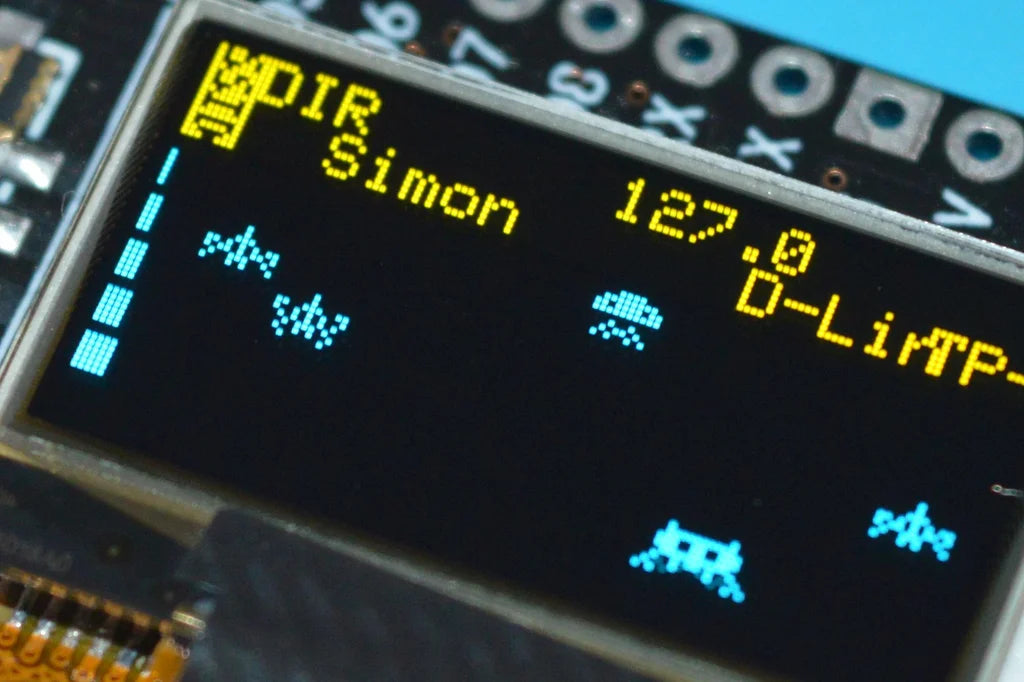
Silly Wireless AP Monitor With ESP8266 and OLED Display
Are you ready to take your DIY skills to the next level? Dive into the world of wireless AP monitoring with this fun and educational project using ESP8266 and OLED display. Get ready to be amazed by the possibilities!
What You'll Need
To embark on this exciting journey, gather the following materials: ESP8266 module, OLED display, jumper wires, a breadboard, and a USB cable. Don't forget your laptop or computer to upload the code!
Step-by-Step Guide
1. Start by connecting the ESP8266 module and OLED display to the breadboard using jumper wires. Make sure to follow the wiring diagram provided in the project instructions.
2. Install the necessary libraries for the ESP8266 and OLED display on your Arduino IDE. This will ensure smooth communication between the components.
3. Upload the code provided in the project to your ESP8266 module. This code will allow the device to scan for available wireless access points and display the information on the OLED screen.
4. Power up your setup and watch as the wireless AP monitor comes to life! You'll be able to see the SSID, signal strength, and encryption type of nearby networks in real-time.

Why It's Worth It
Building your own wireless AP monitor is not only a fun and rewarding project, but it also provides valuable insights into the world of wireless networks. You'll gain a deeper understanding of how devices connect to the internet and the importance of network security.
Plus, impress your friends and family with your DIY skills and showcase your custom-made wireless AP monitor. Who knows, you might even inspire others to delve into the world of electronics and coding!
So what are you waiting for? Dive into this exciting project and unleash your creativity with ESP8266 and OLED display. The possibilities are endless, and the satisfaction of building something from scratch is truly priceless.
And to keep up to date with new products, news, tutorials and more here at PMD Way - we're on x, Facebook, Instagram, threads, reddit, and instructables.

Leave a comment