You Can Build This Arduino-Based Arcade Button MIDI Controller Yourself
from hackster.io
Virtually all computers today are capable of sampling and synthesizing very high-quality sounds, making dedicated hardware synthesizers, drum machines, and samplers unnecessary — though many musicians still prefer them. If you’re using music production software on your computer, you can simply push buttons on your keyboard to trigger notes or samples, but that isn’t a particularly user-friendly experience.
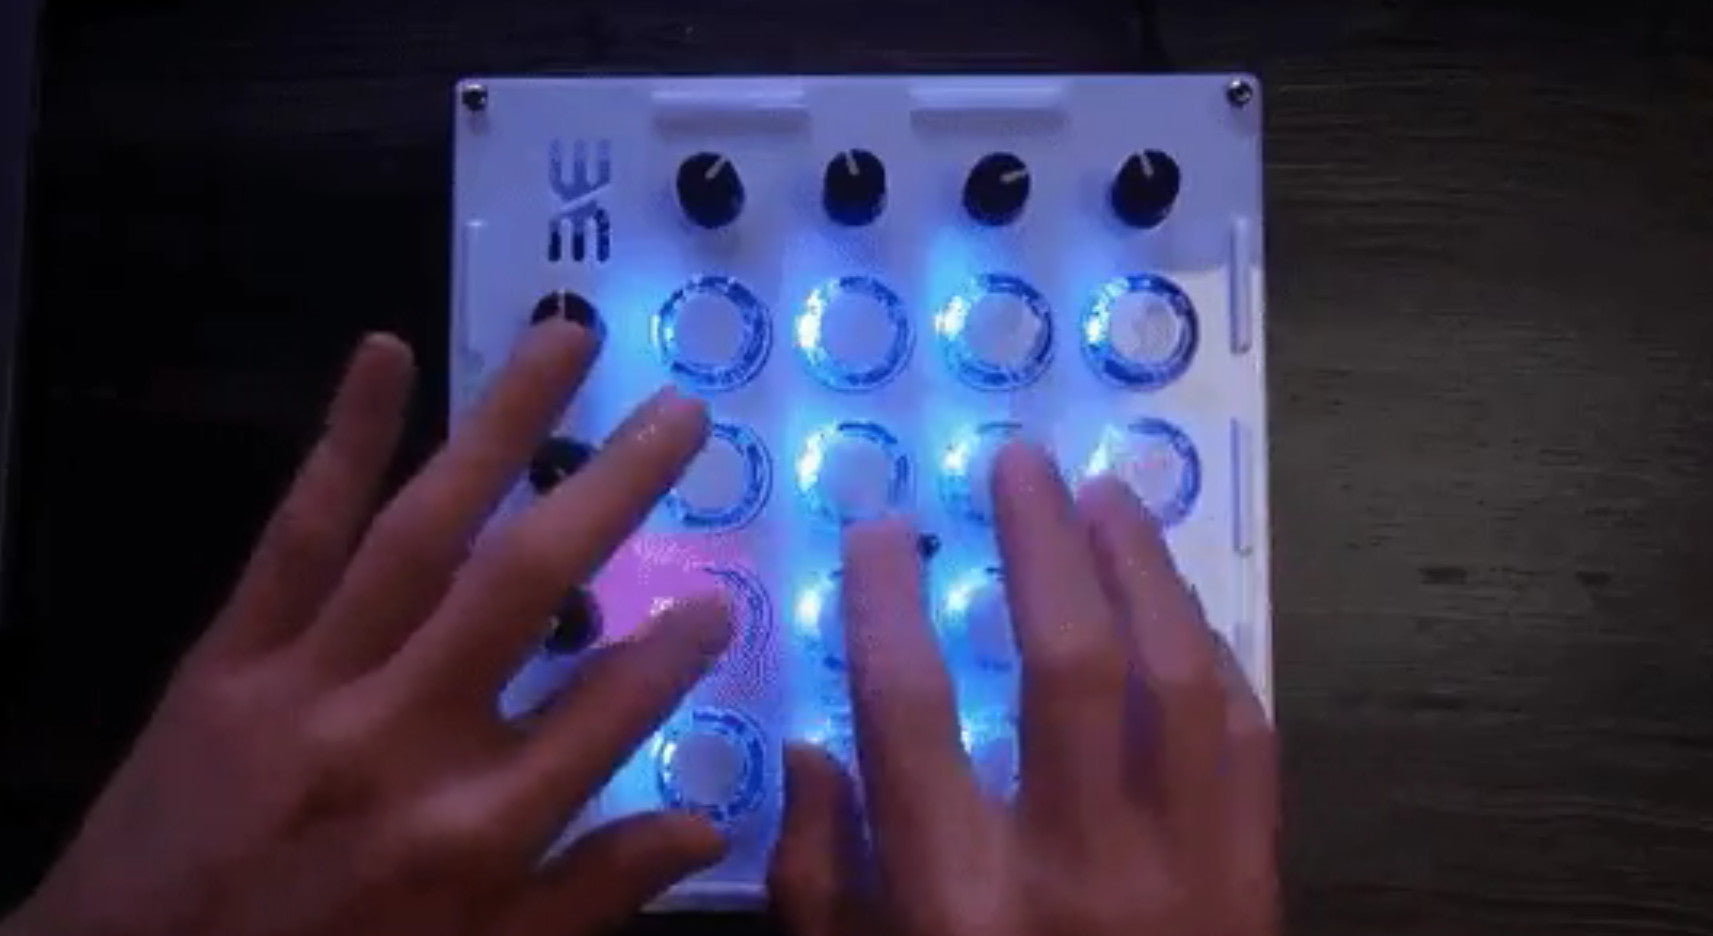
MIDI controllers give you a more satisfying tactile input method. There are many MIDI controllers on the market, but if you want something more custom you should check out Nerd Musician’s Fliper RGB arcade button MIDI controller.
Like all MIDI controllers, this can be connected to a computer or dedicated synthesizer that supports USB MIDI connections. It features a total of 16 buttons and eight rotary control knobs.
Those buttons are all arcade buttons, which have a great tactile feel that is ideal for this kind of application. The buttons are transparent and backlit by individually-addressable RGB LEDs to give visual feedback when you press notes. This controller can also receive MIDI data and will light up the corresponding buttons all on its own.
The rotary controls are simple potentiometers that can be used for a wide range of settings, such as adjusting the tempo if you’re using the MIDI controller for a drum machine.
The brain of this MIDI controller is an Arduino Pro Micro board, which is programmed to act like a standard USB HID (Human Interface Device) when plugged into a computer.
That has a limited number of GPIO pins, so this design uses a multiplexer to handle all 16 buttons. Common WS2812B or equivalent LEDs can be used for the backlighting. The enclosure was modeled in Autodesk Fusion 360 and is broken into several small acrylic panels that can be laser-cut and then assembled with some glue.
If you’re looking for a MIDI controller that is both affordable and highly customizable, then the Fliper RGB is perfect for you.
Finally - to keep up to date with interesting news, offers and new products - interact with us on facebook, instagram, and twitter.


Leave a comment